Sunday, July 6, 2014

Free Tutorial - Gothic Lace Flower

I recently spent an amazing 3 days in Kitchener ON learning from my friend James Roselle as he was guest instructing at Icing Inspirations.  While I was there, I was able to pick up all the molds I pre-ordered from the Elissa Strauss fashion line.  On my drive home, I had a bunch of ideas going through my head, including one that I thought would be awesome on a goth style cake.

To make my Gothic Lace Flower, you will need:

Gumpaste (I prefer fondarific brand)
Spray Glaze
Gum Glue
Silver Highlighter
Lemon Extract

Start by making your center.  Make a small amount of grey gumpaste using the black gel color.  Take a tiny amount of the grey and color it black.  Use an even tinier amount of black, marble it in with the grey and cast your skull cameo.  Allow to dry overnight.


Mix some tricot lace medium using the package instructions.  To get black, I substituted in some black airbrush color by weight with the water.

Spread the medium over your lace mat (my mat is black, so I used a white mat for you to see it easier)


Bake according to package instructions (I usually leave it in until it is no longer tacky to the touch).
Remove leaves from mat and pace on bumpy foam to give them some shape and allow them to dry.

Paint the base of the cameo with highlighter mixed with lemon extract.  Allow to dry then spray with glaze – this will prevent the silver from coming off and will also help you achieve a true marble look to the skull.

Use a small circle of gumpaste as a base and adhere 3 of the same leaves to it with gumglue.  

Repeat with a second layer of leaves (different style) to fill in the spaces.  Add your skull cameo center and you have a fairly quick and easy Gothic Lace Flower (I left mine on the bumpy foam since it was really humid the day I was shooting the tutorial).


I really hope you enjoyed this tutorial – it helped me get into a dark place and come up with a few cool projects for a class I will be co-teaching with Suzanne of Savauri Sugar in early October – “Macabre Flowers”.  If you want to take part in the class, be sure to follow me on Facebook and Twitter (@morselsbymark) to keep up to date when the class is officially announced.  Also, be sure to check out the Morsels By Mark Store  where I am now making available some of the most requested tools from my classes.

Until Next Time – Happy Caking!

Sunday, June 1, 2014

New Product Review – Icing Images’ Decogel

Hey Cakeland!  

You all know I love trying the latest and [sometimes not so] greatest things hitting the cake scene.  It can be anything from a new ball tool to new molds for lace and bling.  As a blogger  and the sponsor coordinator for the Canadian Cake Decorators Guild, I am exposed to a lot, some of it good and some of it not so good.  Regardless of the outcome, I feel it my responsibility to be completely and utterly honest so that my readers benefit from my experiences.

A few weeks ago while I was at the day job droning away at my computer, I was counting down the minutes to my lunch break so I could check my personal emails and see if anything was worth reading.  Amidst the usual “lower your credit  card debt” and “increase your manhood” emails I had a few emails from people that had used the “contact me” feature on my website.  I usually save these to read when I get home as they are from potential clients or students and I want to be able to give them 100% of my time when I reply.  But that day was killing me mentally and I decided why not read them and see if any could be answered right away – for all I knew one could be a cake order and I wanted nothing better than to get my creative juices flowing!

It was not an order, but an email that would get my creativity going for sure.  It was from Theresa at Icing Images asking if I would be interested in trying out their latest product, Decogel, and possibly write about my experiences (and here we are).  I had been reading a lot about Decogel and had been intrigued by what I had seen.  Decogel is a gelatin based product that you heat up and pour into molds, lace presses, and many other applications.  It sets quite quickly (a lot faster than isomalt) and when set, looks like isomalt but has the texture of gummy candy.  We will be talking about it in our June CCDG meetings as it is the topic and sponsored item of the month, but I couldn’t wait and honestly demoing it and playing with a new item at a guild meeting doesn’t really give you the full product experience.  Needless to say, I jumped at the opportunity.  Theresa was great to speak with and even gave me an option as to what colour I would like to  sample.  Icing Images offers Decogel in 10 different colors including clear and opaque white.  I chose clear and figured I could tint it however I liked.

All I had to do now was mull over the billion ideas and designs going through my head and wait (impatiently) for my sample to arrive.  So early this week, my sample (a full 8oz container) arrived, and it was time to settle on what I was going to do.  I decided I wanted to use my new Marina Sousa molds by Marvelous Molds that I got at Icing Inspirations.  I had also seen some of the cakes using Decogel by artists that work with Icing Images on their design team (talk about my dream job) like the ever so sweet Peggy Tucker (who I did message with a couple of questions about using Decogel and she was awesome enough to answer very quickly).  Now to be quite honest, I looked at some of these cakes and thought, “Wow, they used decogel EVERYWHERE” almost to the point where I was thinking it was almost “over-decorator-itis”…..after using Decogel, I can see why it was used where ever possible – this stuff is FREAKING AWESOME!!!!!

So my design was going to incorporate yellow, black and white.  Something I hadn’t seen done on any of the cakes I looked at, were Chandelier beads.  I got my work area al set up and was ready to go.  First things first, my canvas – made sure my dummies were covered and ready to go.  Next thing I did was heat up the Decogel and cast my chandelier beads.  I am very impatient and threw the mold in the freezer to expedite the setting time.  I was able to cast all of my beads (10 strands) in about the time it would normally take me to do 2 strands in isomalt!

  I still had tons of Decogel left over, so I decided to add more to my design, I cast a clear brooch for the top tier which I very easily painted and accentuated with gold highlighter and extract.  To make it look more brooch-esque, I painted the back of the piece gold as well.  Once dry, I sprayed the entire thing with clear glaze and gave it a bit more “kapow” with some Rainbow Disco dust by my friends over at theSugarArt. 


Next up was to test its colorability.  I added a couple of drops of Black gel color (I use Luck’s brand) and gave it a quick stir.  I then cast enough jeweled diamond swags to go around the top of my yellow tier.  Now, I normally apply decorative pieces to my cakes with clear corn syrup mixed with water.  This seemed to work on the swags, but when I left the room and went back in, they had started to slide, so I peeled them all off, cleaned up my tier the best I could, and went to my next “glue” of choice – white chocolate and freeze spray – worked like a charm.

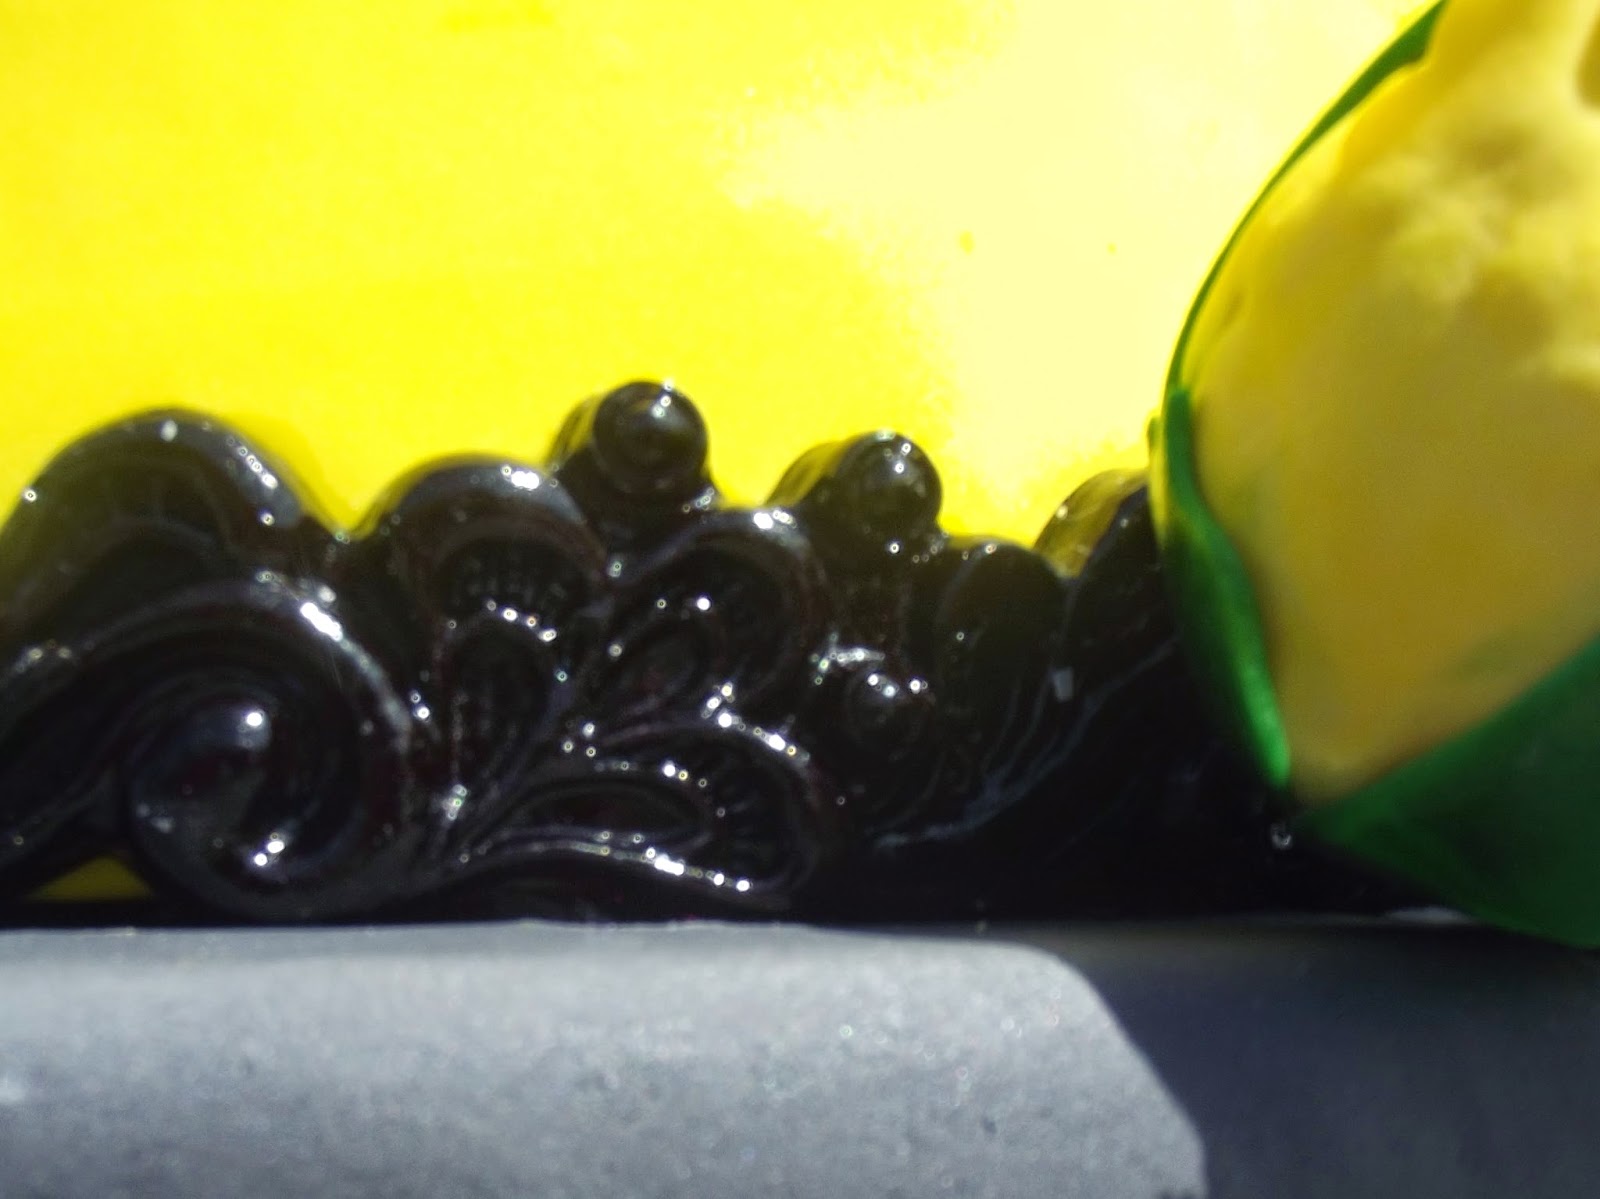
  I had finished the base of the tier with  lace border mold and black fondant.  I took a step back and found it was too dull in comparison with the top of the tier.  Low and behold, before I knew it, the fondant trim was ripped off my cake and I found myself pouring black Decogel into the same lace border mold.  This stuck to my cake no problem with my corn syrup and water glue.  

Took another step back and liked what I was seeing, so it was time to finish it off with a yellow sugar peony and buds. Here is the result:


Like anything, there are always pros and cons.  The pros to Decogel: it's easy and quick to heat, takes color easily, easy to clean spills (let set and peel up), re-heatable (virtually no waste….unlike isomalt beads, if you trim a length of beads away you toss em because they have the string inside, but with Decogel you can just easily slide them off the string) and a little goes a very long way – one 8oz tub gave me 10 chandelier strands, enough swags for the top of an 8 inch round, enough lace for the same tier, a large jewel brooch and still some leftover!  The cons – although it looks like isomalt, it doesn’t have the same rigidity.  Also if we look at cost, 8oz is 16.99 plus shipping – a bit more expensive than isomalt, but in my opinion this can be passed on to the customer and 8oz of Decogel goes way further than 8oz of isomalt would!

I am very happy to say that Decogel is definitely something I want to add to my cake decorating arsenal.  After seeing all of the possible applications for it, my mind is swirling with new decorating possibilities!!  If you have the chance to try this product, I highly recommend doing so – you won’t be sorry!

Thanks to Theresa and the fine folks at Icing Images for giving me the chance to play and stretch my imagination.  And thank you to you, my readers, who allow me to continue doing what I love – writing and sharing my passion for all things cake!  Stay tuned for more in the coming weeks and months – I have a lot of projects on the table that I am dying to try with you all!

Until next time,

Happy Caking!

Tuesday, March 25, 2014

Airbrushing 101 - What every cake artist needs to know!


One of the things I love about teaching, working for the Canadian Cake Decorator’s Guild and being present on social media, is the visibility I have to the Cake Decorating community.  As a teacher by nature, I am usually pretty giving with information and willing to answer pretty much any question.  In a recent class, my students were working on their sugar flowers and we were talking and the topic of Airbrushing came up.  In my opinion, I would say this topic comes up a lot.  Airbrushing is one of those topics that people love or are intimidated by.  I figured the blog was a perfect place to “air it all out” so to speak.

I remember my first airbrush experience like it was yesterday (maybe because 7 years later I am still finding red airbrush color every time I mop the kitchen floor).  My parents bought me a badger airbrush that I hooked up to my compressor that we around the house (tire inflations, nail guns, etc).  I had done a 3D car and wanted to airbrush it to get a truer red.  I hooked it all up, turned the compressor on and filled the reservoir with Super Red airbrush color and had at it.  The cake looked great!  My beige kitchen was now pink!  Walls, floor, ceiling….everything was covered!!  I spent more time washing everything than I did working on the cake in the end.  Lesson learned – protect your workspace.

I put the airbrush away, but took it out every now and then to play.  I just never seemed to get the control or ability for fine detail the way some of my cake heroes did, despite watching and reading countless tutorials online.  I was feeling defeated – I usually pick things up easily this way, but I just wasn’t getting it.

It wasn’t until a few years ago that my feelings for airbrushing changed.  I was at Icing Inspirations taking Rick Reichart’s Discover Your Innner Artist Class 2.  Icing Inspirations brings in the best of the best when it comes to instructors.  Rick taught us about the “anatomy of the airbrush” and how to control it.  It was then that I fell in love with my current airbrush by Grex (but that is a whole other conversation).  Taking the class just because of the airbrushing component was the best thing I ever did to hone my skills!

The reason I never took a class for airbrushing before was that I have to travel to classes, and to bring my airbrush with me would be a major pain.  The nice thing about the classes at Icing Inspirations is that the classroom is equipped with an airbrush for every single student!  That’s right – no need to bring one with you.  And if you don’t have an airbrush and have been on the fence about making the investment, then taking a class at Icing Inspirations would be ideal – you could give it a shot before making the commitment. 

 I know they have Lisa Berzcel – an acclaimed airbrush specialist – coming in May to give a series of classes for all levels on airbrushing techniques.  There are 3 different classes total each building upon skill set, and the classes are reasonably priced too.   Lisa is probably the best person to learn from when it comes to airbrushing – her work is bar none!  I am totally jealous that I can’t make this set of classes, but she is indeed on my bucket list of instructors to learn from.

 So the moral of the story is don’t think that by reading, following an online tutorial, or practicing on your own is the best way to learn airbrushing, since you will more than likely end up frustrated.  Do yourself the favor and take a class.  Invest in yourself and the skills will come.  I have gone from feeling defeated and intimidated, to being a lean mean airbrushing machine!  I airbrush pretty much anything  I can now J

Friday, September 20, 2013

The Secret I've been dying to share.....A Canadian busts onto the Craftsy scene!!

Hi Cakeland!

You all know how much I love Craftsy classes and stand behind the quality and instructors.  If you can't get to a live class for whatever reason, then Craftsy is the next best thing!  The newest class on the roster is no exception!  Now, I have long wanted my own Craftsy class, and it is still something I hope to do sooner than later.  But until that dream comes true, I am ecstatic (actually over the moon) to share that a Canadian has broken onto the Craftsy scene!


That's right!  In just 5 short days, Craftsy will launch "Small Cakes, Big Business", starring none other than my BCF, Chrissie Boon!  I can never sing Chrissie's praises enough - a wife, a mother of 3 (including the cutest 6 month old I've ever seen), an award winning cake designer, a successful entrepreneur (her store Icing Inspirations is my favorite place on earth as you know), organizer of the upcoming cake event of the year - Cake Carnival, and now Craftsy instructor!  And I should throw in she is also the bestest friend a cake dude could ask for!


Now, Chrissie can't share any video with me until class launches on September 25th, but she was able to give me the lowdown on what this class is all about.  It is a decorating class and business class tied into one - and you all know I love a 2-for!  Chrissie understands our struggles with customers who want custom cakes but don't wanna pay custom prices - and we all have em!  In "Small Cakes, Big Business", Chrissie will teach you how to supplement your cake income by building a line of cakes that are not time consuming for the decorator, but still offer customers somewhat of a custom look.  This is something I can't wait to include in my cake offerings - it is an awesome idea!
 
Yes, I know Chrissie personally, and can attest that what you see is what you get.  She is as nice in person as she comes across on screen, and she really does want to see her students and customers succeed!  She is one of the biggest advocates for squashing the nastiness that is often prevalent in our industry, and I commend her for that!  In her own words, "there is enough cake for everyone" - words that have resonated with me since I interviewed her for the blog a few years ago.  Chrissie wants you to succeed so much that one lucky reader will get the chance to win her Craftsy class for free along with a $25 gift card for Icing Inspirations.  All you have to do is click on the link below and you will be entered in the contest.  But hurry - Craftsy will pick one luck winner right before the class launch Wednesday!
 
 
If you want to learn how to grow your cake business and maybe finally turn a profit, then "Small Cakes, Big Business" is the class for you! Mark your calendars, and get the class September 25th.  And if you want to meet Chrissie in person she will be at Toronto's Baking & Sweets Show next weekend, the Montreal Cake Show October 19-20 (where we are both teaching), and will also be hosting Cake Carnival (where 4 other Craftsy instructors will be among 6 of the world famous intructors) November 6-8.
 
Until Next Time,
Happy Caking!


Saturday, August 3, 2013

Marina Sousa Has Done It........Again!

Hi Cakeland!

As you all know, I am a big advocate of furthering your education, learning new skills and expanding on ones you already have.  Now although nothing can beat taking a hands on class, Craftsy offers great classes that you can watch online over and over again, whenever, wherever you want.  Their most recent offering is from someone I loved learning from in person as well as from her other Craftsy classes.  Marina Sousa has blown my mind once again with fresh takes on decorating cakes effectively giving a wow factor with minimal effort!

In "Designer Fondant Textures", Marina offers up a plethora of decorating methods that result in eye-catching, stunning cakes....but, would I expect anything less from Marina?  Techniques covered in the class (each section offers multiple ways of achieving the look being discussed) include: Sequins, Ruching, Fringe, Zebra Print, Geometric Textures, and Ruffles.  The great thing about this class (as well as Marina's other classes - Advanced Fondant Techniques and Jewelled Wedding Cake) is that Marina offers up a variety of techniques that look great on their own or can be mixed and matched to achieve stunning, show stopping creations.  I have taken many classes, and still continue growing and learning new things - this class is no exception!  My mind was exploding watching this class and learning some new tricks that I need to seriously find time to try!


Marina has to be one of the easiest instructors to listen to.  She is well spoken, clear, and her effervescent personality really comes through each and every time!  If you haven't yet purchased this class or any of Marina's other classes, please head over to Craftsy and do so....you will not be disappointed!  And once you get a taste of Marina's amazing teaching style, you will want to learn from her in person....why not join her at Cake Carnival (along with 5 other amazing instructors) this November?  There are still a few spots left....don't miss your opportunity to get the Marina experience first hand!
 
Until Next Time,
Happy Caking!!!

Wednesday, July 10, 2013

Marvelous Molds has done it…..Again!


Hi Cakeland!  I am so happy summer is finally here – better late than never I say.  One of the things I love about being in this industry, is the people I get to talk to and deal with on a regular basis.  Now you all know I am a cake toy JUNKIE!  Imagine my excitement that day in May when I get a text from my BCF (for you newbies, that’s Best Cake Friend) telling me to go check out the new products up for pre-order online at her store Icing Inspirations.  They were called “Onlays” ….

 The first few patterns I saw were very cool – knowing Marvelous Molds made them, I had no question about the quality – everything MM does is top of the line.  What had me intimidated was the time it would take me to transfer the intricate designs onto my cake – time is $$$ after all!  Then I watched Chef Dominic’s (owner of Marvelous Molds and creator of Onlays) master class on using onlays.  I was blown away!  I was intimidated for no reason. If anything, the  Onlays were going to make my decorating even faster.  Who could ask for more?  My pre-order was placed, and all that was left for me to do was to sit back and wait (and dream up all kinds of new cake designs).  In true Icing Inspirations style, I got my order in record time, and worked my busy wedding cake schedule over a bit to make time to play….and make a tutorial for my readers of course ;)

 
My Icing Inspirations Onlay Order (plus some other cool stuff)


I picked two onlays for my first attempt – took every ounce of my being to edit it down and stick to a simple, yet elegant design.  The onlays I used for this tutorial are called ooh la la (top tier) and double wedding ring (bottom). 

I started with 3 dummies covered in pink fondant.  The middle tier was hand painted with silver highlighter mixed with lemon extract. 

To do the bottom tier, I rolled black fondant mixed with a bit of gum tragacanth (Fondarific is my fondant of choice)  the width of my Kitchenaid Pasta roller attachment to a number 2 – very important to note: the “cutting blades” on the onlay are the perfect height for a 2 on the KA.  Tip: Roll and cut all of the pieces you will need and keep them under layers of plastic wrap.


I lightly corn starched the onlay and tapped the excess out. 

Place the piece of fondant  on the onlay and press well to “cut” your pattern.  Brush the back of the design with adhesive (I love this edible sugar glue by Rainbow Dust). 

 Remove the negative spaces (those areas you don’t want attached to the cake).  Line the straight edge of the onlay flush with the base of the tier and rub/press the silicone to get a good adhesion to the cake. 


Continue this until you get the desired look you want. 
 
Something awesome that Chef Dominic has done is to create the onlays to be 2 times pi long.  For the not so math savvy, this is exciting because it means that on any EVEN diameter round cake, you will get perfect fitting without any seams meaning on a 6 inch round, 3 onlays fit perfect (8 inch uses 4, 10 inch uses 5, 12 uses 6, so on and so forth).  The Onlays are also constructed to line up to one another perfectly as you can see in the picture above.
I allowed the fondant to dry a bit before painting silver with the same mixture I used on the middle tier.

I repeated the process with the ooh la la onlay on the top tier, except I placed it in the middle of the tier.


Stack your cakes and embellish your cake drum as desired.

 For the flower and embellishment on the top tier, I used pink 50/50 in Elissa Strauss’ new beaded button molds.  For the flower center, I added a 20g wire bent in an “L” and allowed it to dry. 

 The other buttons were made same way (sans wire) and allowed to dry.  I painted all of the buttons with a silver paint pen by Rainbow dust.   And brushed the center with sugar glue and dipped in pink disco dust. 


The flower petals were made using Peony cutters by Collette Peters (2nd and 4th biggest).  I veined the wired petals using James Rosselle’s Parrot Tulip veiner and dried in an empty apple tray. 

To get the curl on the tips, I simpleyplaced my ball tool on the top edge of the petal and using firm pressure, bring it towards the center. 


The petals were then dusted in Hot Pink petaldust and steamed to set the color.  I taped the petals around the center, and voila – a gorgeous fantasy flower!
 

Using white chocolate, I attached 5 buttons to the top tier and placed the flower.  Trim the cake seams with diamanite ribbons.
 

The onlays went on the tiers so easy and made the cake look very sophisticated!  Best of all, my decorating time was cut down immensely! 

The finished cake!


I have already ordered the majority of the onlays and will be finishing off the set shortly.  I have already heard from a contact of mine from Marvelous Molds, that these are the first patterns in a series, and new patterns will be added in time - I.  CAN’T.  WAIT!!

If you wanna get your hands on some onlays, head over to the Marvelous Molds site.  They retail for between 12 & 29 dollars – very reasonable for the quality you get!  Everything (including Onlays)  I used on the cake for the tutorial is available at Icing Inspirations (links to individual items are included wherever possible ;) ). 

Keep your eyes posted here for more product reviews and tutorials in the future.

Happy Caking!

Sunday, May 26, 2013

Tutorial - Making a Sound Structure for Stacked Cakes

               One of the most nerve wracking things in every cake decorators life is delivery!  You know it, we have all been there……Not only are you making sure you’re transporting it safely, you have to drive for everyone else on the road too.  And our fears don’t stop there – once we get to the venue and set up, you likely continue worrying until the day after the event and you DON’T get that dreaded call saying the cake had “an accident”.

                That is why I decided to do this tutorial.  I want to take some of the fear away from you.  Proper structure under your cake will (or should) alleviate 80% of your worries (the other 20%?  Can we really trust the people at the venue NOT to touch the cake?).  Now, there are resources out there if you want to research how to correctly build a tiered cake on pillars.  This tutorial is for a stacked cake, simply because in all my years of decorating  (almost 10) I have only ever had to do 1 cake on pillars, and that was only 1 pillared tier on a few stacked tiers.  Not only will this be a very sturdy structure for your cakes, it will make positioning of the tiers easy.


                To make the base, you will need:

·         5/8 – ¾ inch ply wood cut to desired size

·         ¼ inch mdf or cardboard cake drums in sizes of your tiers

·         ½ inch wooden dowel

·         Drill and bits

·         Wood glue

·         Screws

·         4 wood blocks cut from leftover plywood

·         Contact paper

·         pencil

·         Ruler or other straight edge

·         Saws – jigsaw and hand saw

·         Glue gun


Step 1

Draw central line down middle of base and an intersecting line horizontally across the middle (this is easy on squares – your lines will be drawn at the half distance points easily measured out;  in circles, your lines will go from 12 o’clock to 6 o’clock and 9 o’clock to 3 o’clock).  Where the lines intersect is the true center of your board.  Repeat this on all tier bases (if using cardboard, draw your lines on the back)

 Step 2

Using a “flat” style ½ inch drill bit (or similar in same size of central dowel), drill  a hole ¾ of the way down on your base board, and completely through each tier board (again, if using carboard circles, make sure central holes are cleaned up with an X-acto blade)
 

Step 3

Insert wood dowel to make sure it fits snug.  Place your rounds on top to make sure they line up nicely


Step 4

Glue the 4 blocks and attach to the bottom of your plywood base.  Be liberal with your glue.  I prefer wood glue or gorilla glue for this over hot glue.


Step 5

Once glue has had a bit of time to set up, drill some pilot holes in the blocks, then secure blocks to base with small wood screws (make sure they are not too long that they go through the top of your base)


Step 6

Cover your board with contact paper (the dollar store variety works just fine).  Use X-acto blade to clear hole in middle of board


Step 7

Decorate your base board as desired.  Make sure to clear the central hole so you can affix your dowel. 


Step 8

Place a small amount of glue in the hole and attach your dowel.  I like to secure it through the bottom with a wood screw (the flat drill bit will leave a small pilot hole in the bottom of your board so you will know exactly where to position the screw).  This can only be done once your cakes are made and covered in fondant – you need to measure the height of all your tiers and then cut your dowel to the length of their sum less ½ the height of your top tier (Confusing I know…. If you have 4 tiers all four inches tall, their sum is 16 inches; 16 inches less 2 (half of the top tier) is 14 and that is how long I will cut my dowel)

 Step 9

Stack your cake by starting with the bottom tier (duh!) and sliding it down the central dowel (I position one hand on top one on bottom to minimize damage to my fondant).  Add support dowels like you normally would (either wood or bubble tea straws would suffice).  Repeat for your remaining tiers.  Since you cut the central dowel short, it will not protrude from the top tier.

 Step 10

Finish the edge of your base with ribbon and hot glue


           Even a cake as tall as the one shown here could be transported safely by folloowing these steps!  I hope you enjoyed this tutorial as much as I enjoyed sharing it!  I plan on doing more tutorials in the future, so please be sure to follow my blog if you aren't already.  Until next time, Happy Caking!!